Configuring Meraki Devices

Configuring Meraki Devices
Cisco Packet Tracer supports a simplified version of the Meraki Security Appliance (SA), MX65W, and a cloud based Meraki web server.
Configuring these devices is done via web configuration.
Meraki Security Appliance
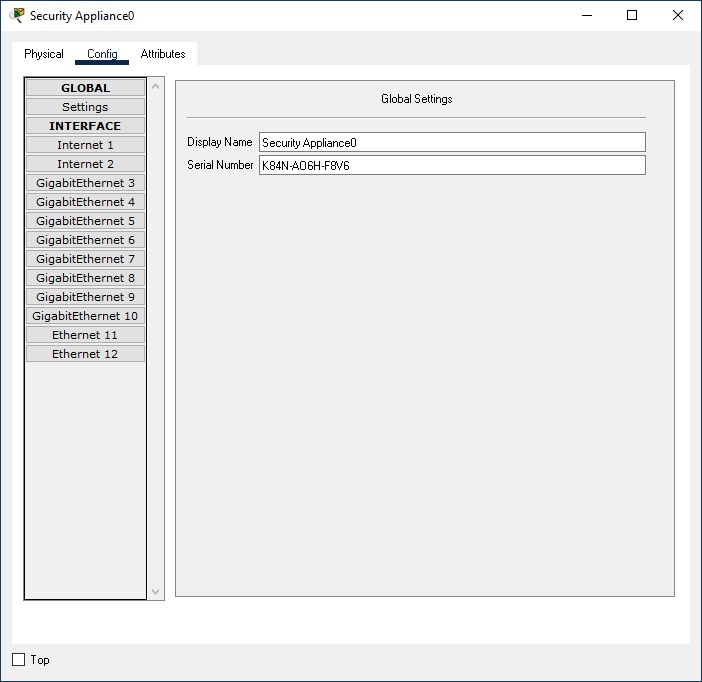
A powered up Meraki Security Appliance (SA) can be configured via an HTTP session from a PC to the SA with the URL http://setup.meraki.com. The user name is the SA's serial number with no password. The SA's serial number can be found on the Config tab of the SA. Prior to the HTTP session, the PC is either configured with a static IP address of the network 192.168.0.0 or is obtained a DHCP address from the SA.
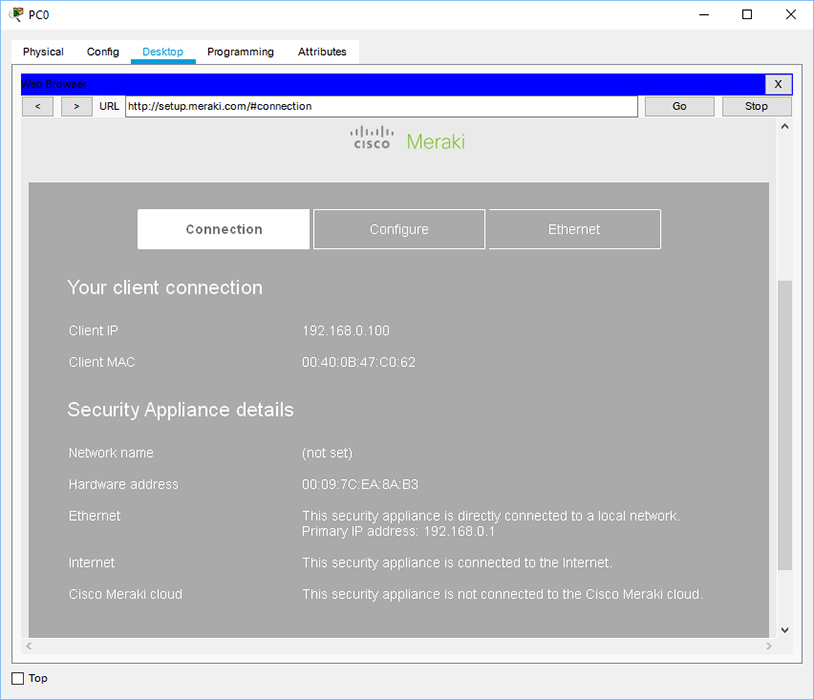
Once logged in, the Connection page will display the current status of the SA.
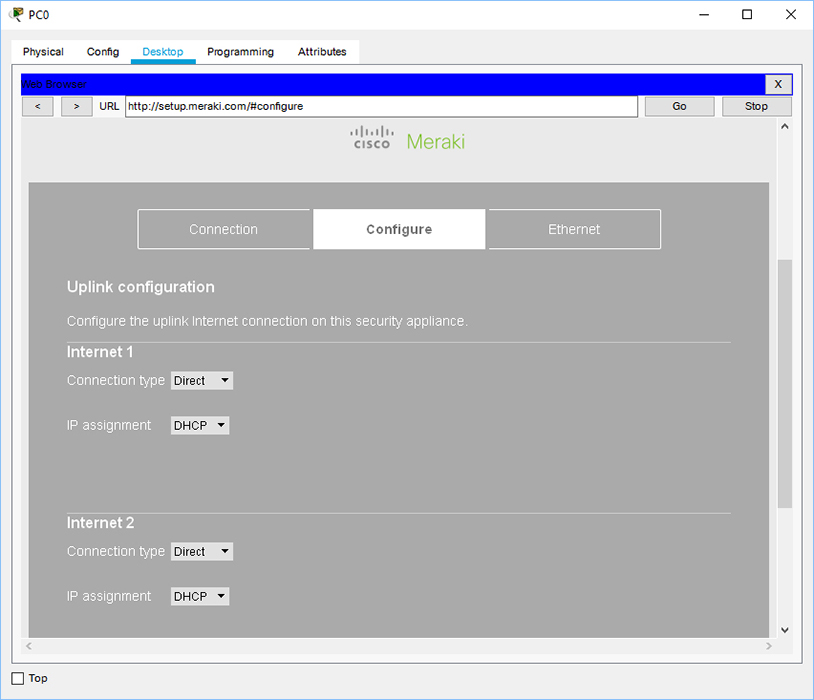
On the Configure page, the internet ports can be configured with an IP address either via DHCP, static, or PPPoE.
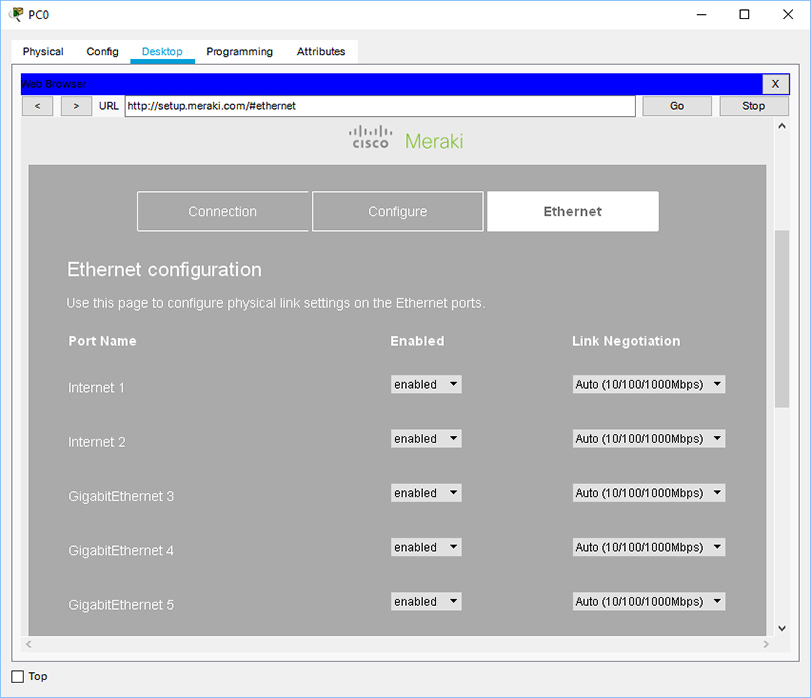
On the Ethernet page, settings of power and link negotiation can be configured for each port.
Meraki Server
Further configuration of the Meraki SA can be done on the Meraki cloud, a web server, that provides unified management of the Meraki SAs from a centralized dashboard.
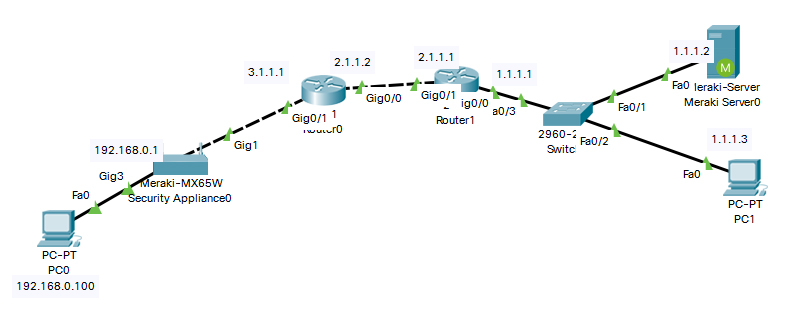
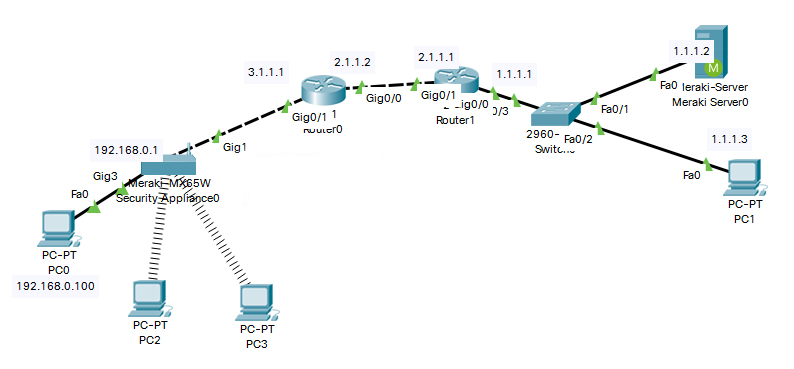
Below is an example of a topology that has both a Meraki SA and a Meraki server.
From any PC, connect to the Meraki server via an HTTPS session to the URL https://dashboard.meraki.com.
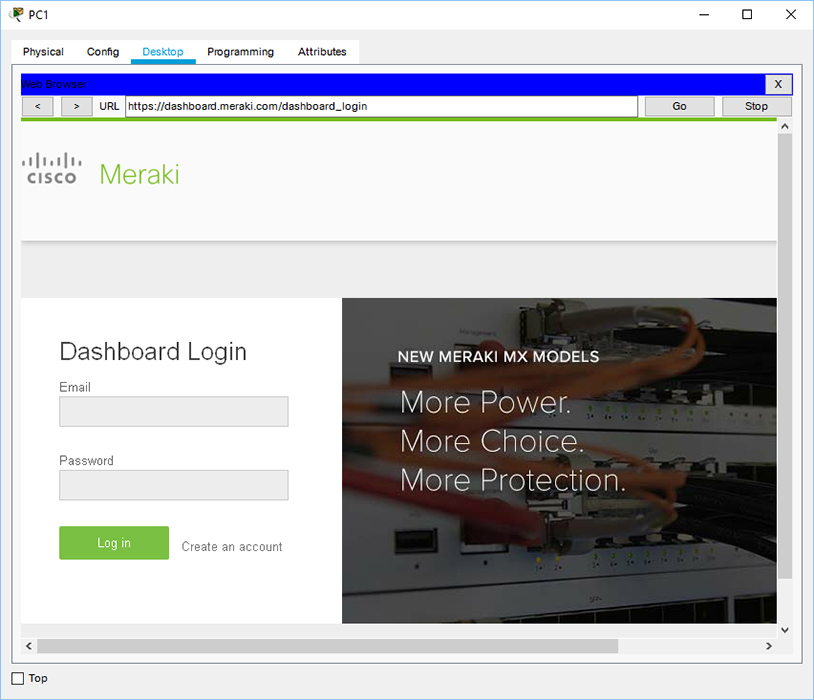
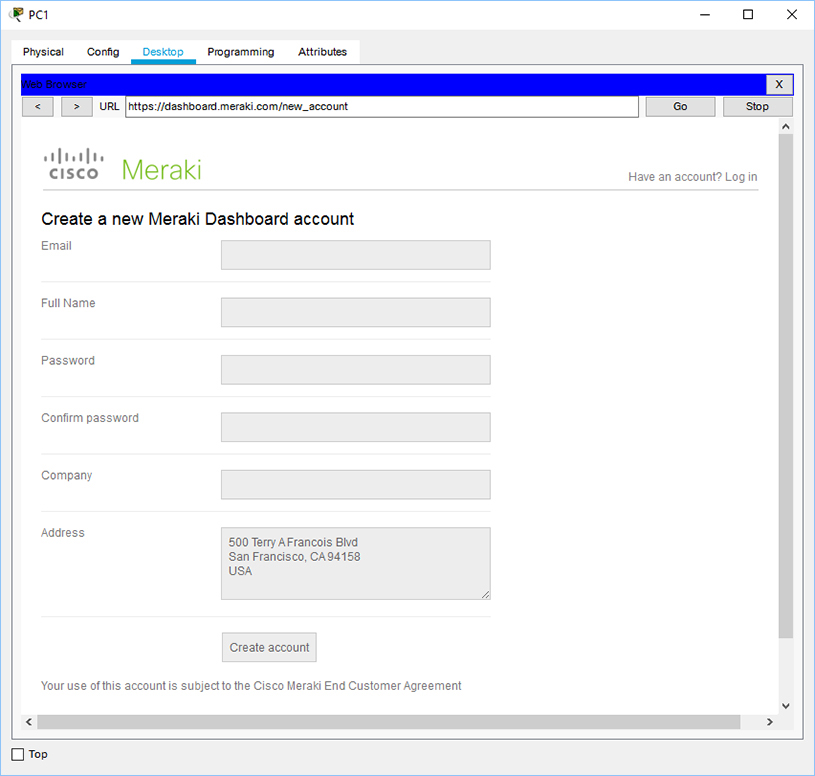
Use the registered email address and password to log onto the dashboard. New users need to create an account by clicking on the Create an account link.
Meraki Dashboard: if it's the first time log-in or the account doesn't have any network or devices added, the dashboard and left side navigation are limited as displayed below.

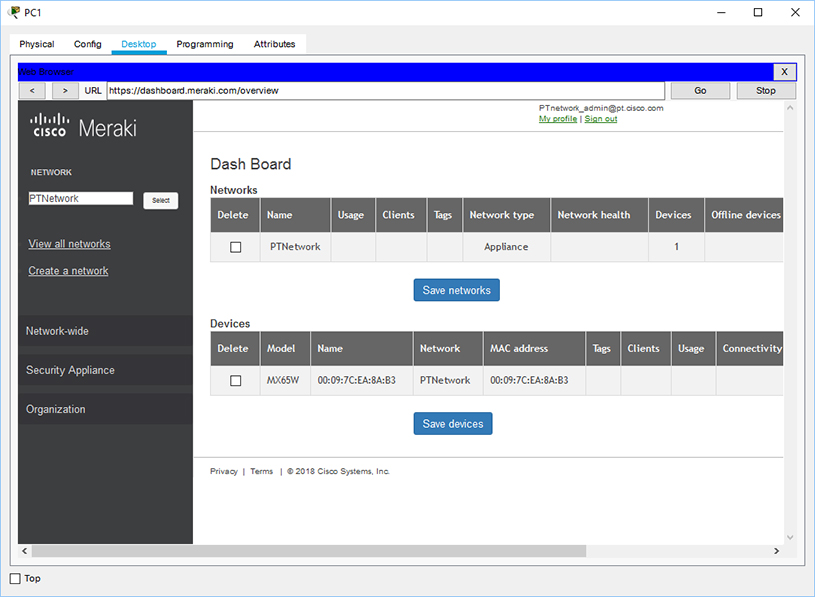
If a network and a device are added, the dashboard will display a list of networks and devices, and the left side navigation has more options. This page can also be accessed by clicking on the mouse-over menu Organization > Overview.
Account Information: the account's email address and password can be changed by clicking on the My profile link on the top right of the web page.

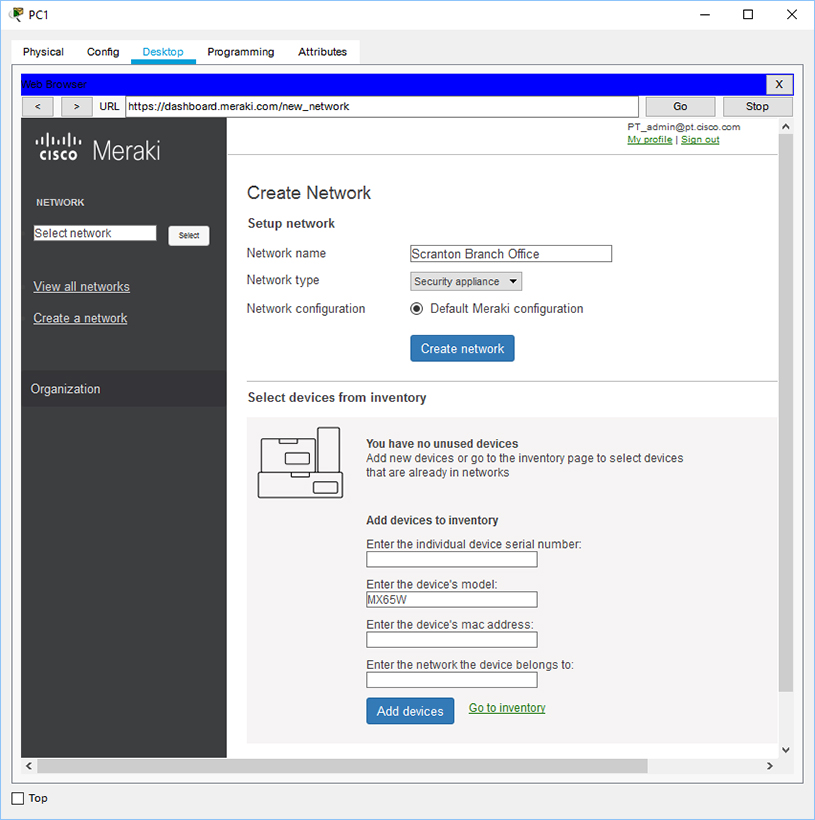
Create Networks and Register Devices: This page can be accessed by clicking on the Create a network link on the left side navigation or under the mouse-over menu Organization > Create a network.
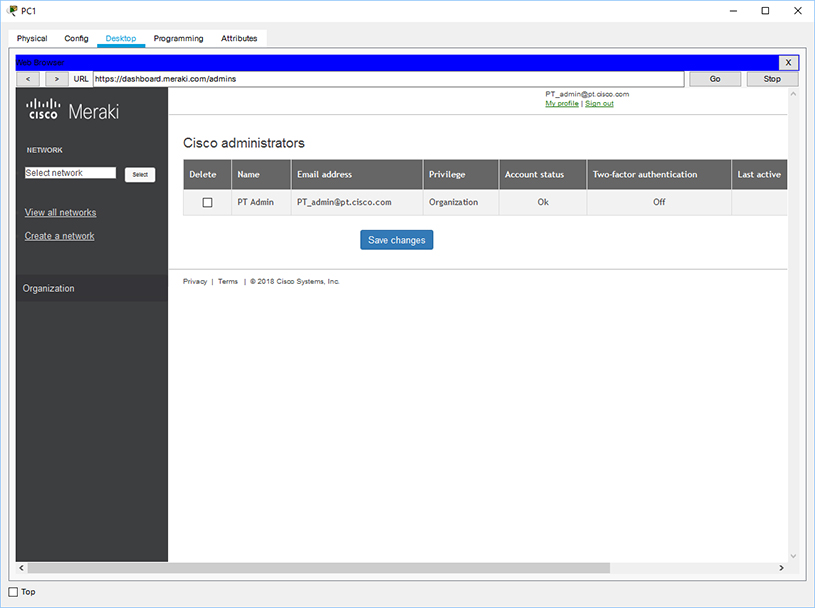
Administrators: This page can be accessed by clicking on the mouse-over menu Organization > Administrators.
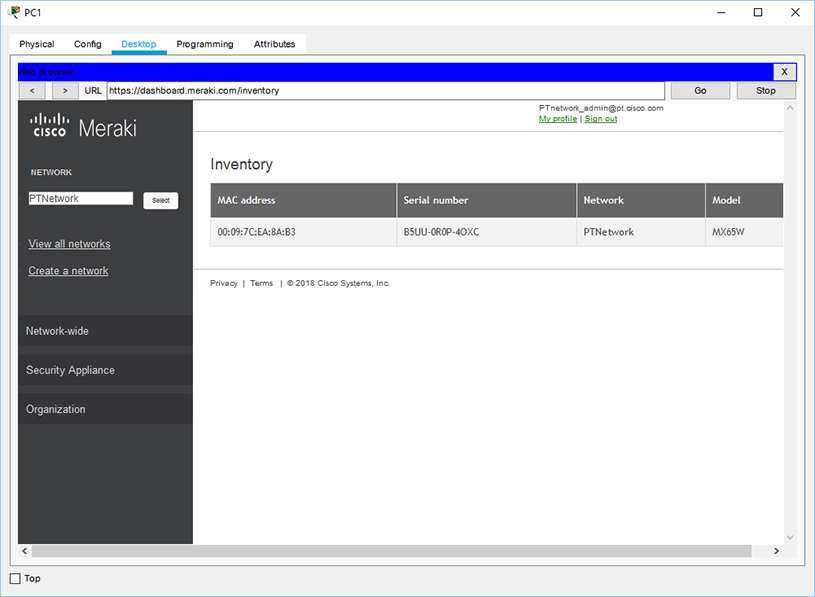
Inventory: This page can be accessed by clicking on the mouse-over menu Organization > Inventory.
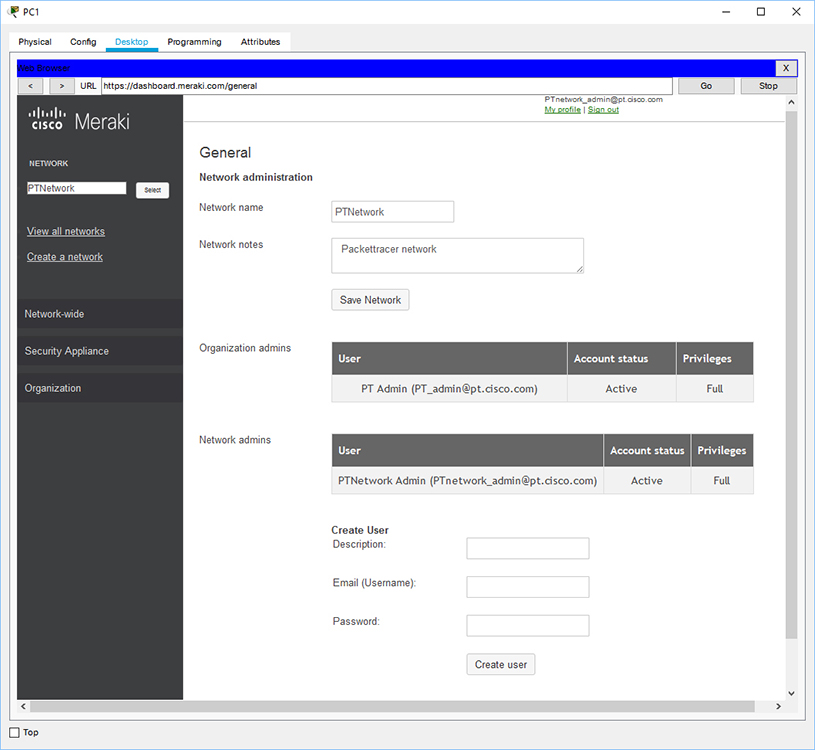
General: This page can be accessed by clicking on the mouse-over menu Network-wide > General. The network name and description can be changed here. The main account user is the organization admin, which means this admin can have privileged-access to all the networks added into the account. The organization admin can also add additional network admins who only have access to one network.
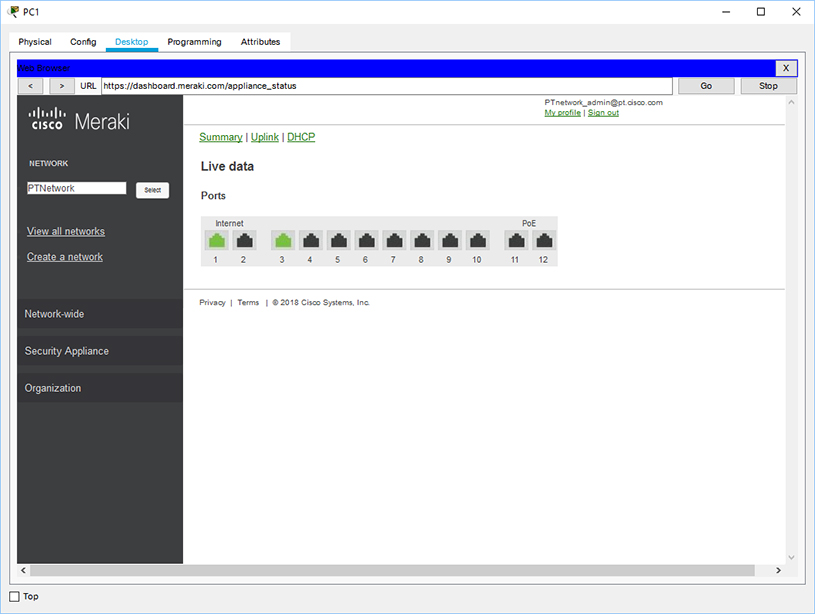
Appliance Status: This page can be accessed by clicking on the mouse-over menu Security Appliance > Appliance Status. The page shows the live data of the port status.
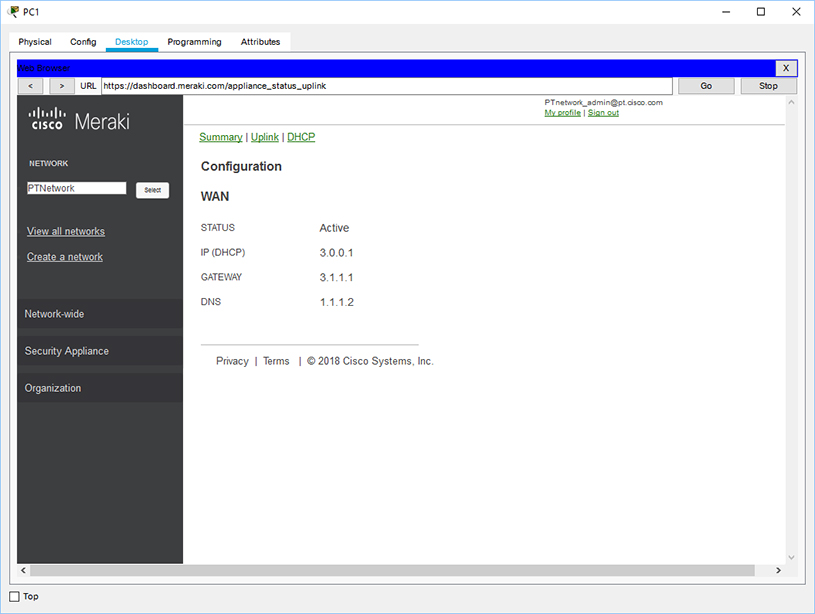
The Uplink link shows the WAN configuration of the internet port.
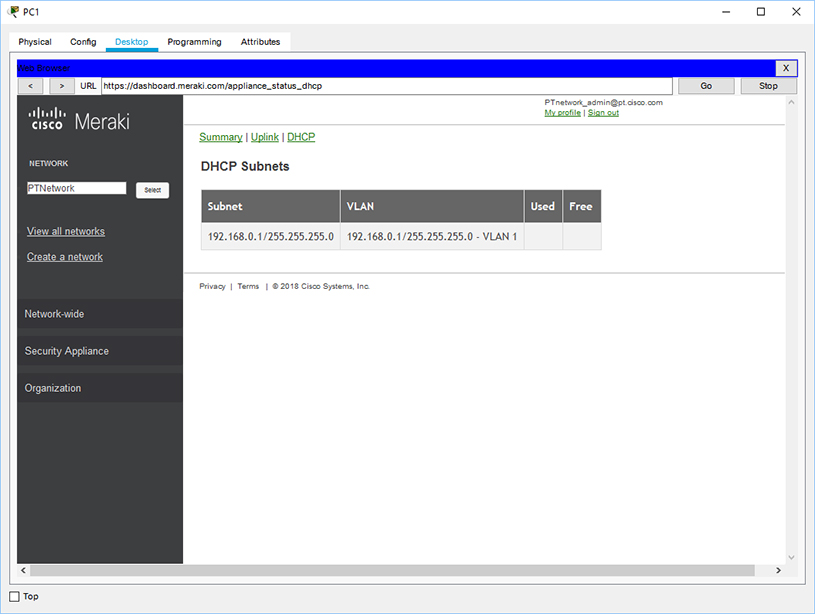
The DHCP link shows the network addresses and VLANs for the DHCP servers residing on each of the Meraki SAs.
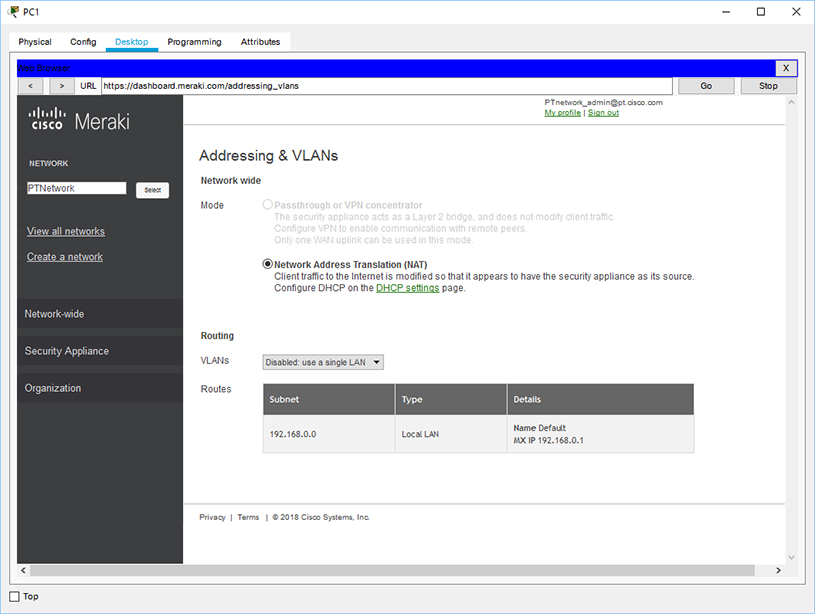
Addressing & VLANs: This page can be accessed by clicking on the mouse-over menu Security Appliance > Addressing & VLANs. This page displays the NAT network mode and routing information.
Wireless Settings: This page can be accessed by clicking on the mouse-over menu Security Appliance > Wireless Settings. The page enables the configuration for the wireless access point on the Meraki SA. Supported security modes are Open, WEP, WPA2 PSK, and WPA2 Enterprise.
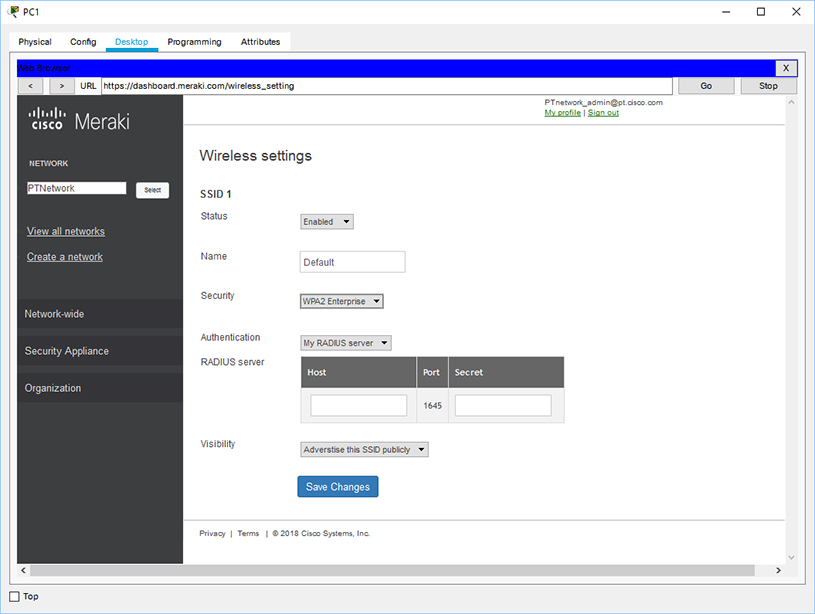
Here is an example topology that wireless clients can connect to the SA after the wireless setting is configured on the Meraki server.
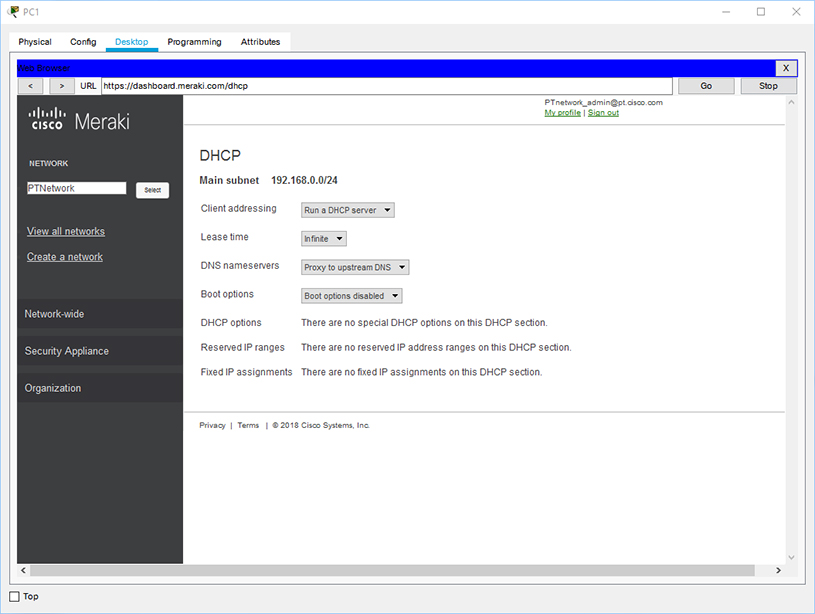
DHCP: This page can be accessed by clicking on the mouse-over menu Security Appliance > DHCP. This page shows DHCP settings on the SA. DHCP settings are currently not configurable by the user.
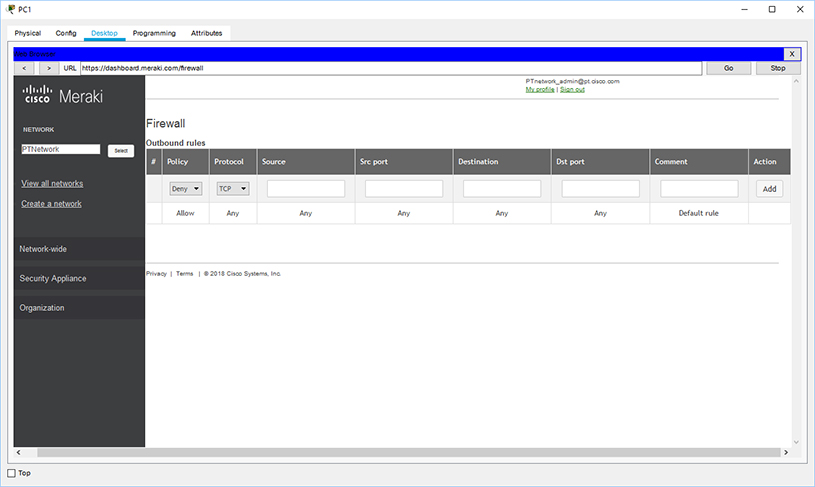
Firewall: This page can be accessed by clicking on the mouse-over menu Security Appliance > Firewall. This page enables the configuration of firewall outbound rules on the SA.