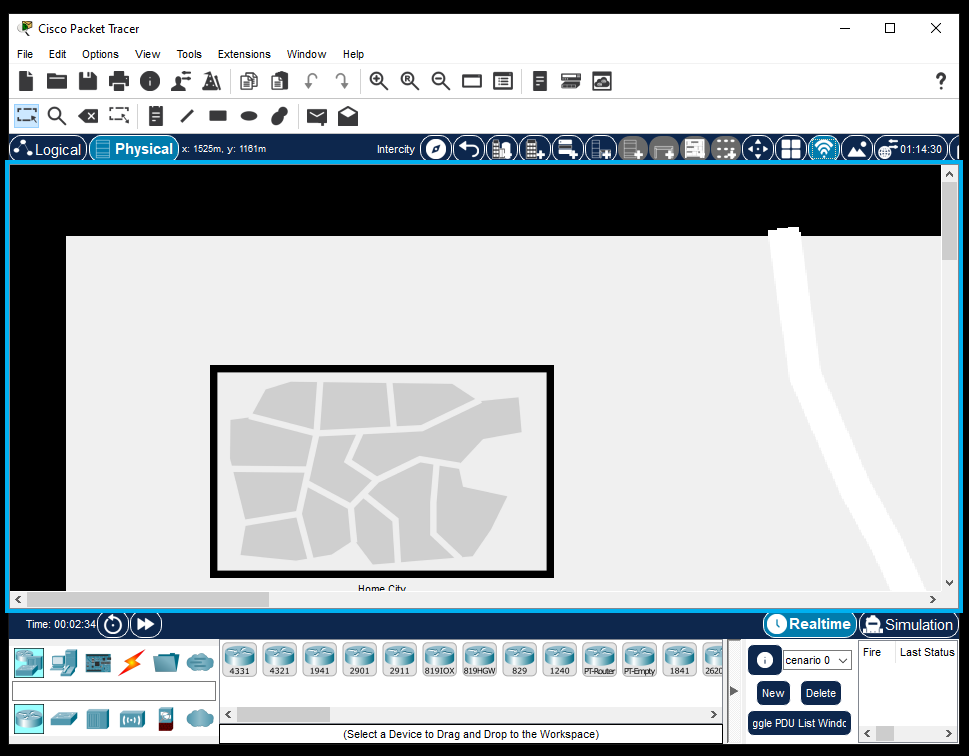
The Physical Workspace allows support with third party screen reader applications, such as Microsoft Narrator or Apple VoiceOver. With a screen reader application on, the physical workspace allows you to navigate, activate, select, move, connect, take, and place your devices with Accessibile Navigation.
Microsoft Narrator Scan Mode (Windows): Narrator's Scan Mode affects which keys are used for navigation and activation. Toggle Scan Mode on or off with CapsLock+Space. When Scan Mode is ON: navigate between items with the Arrow keys, open menus with Enter, and navigate within menus with the Up/Down Arrow keys. When Scan Mode is OFF: navigate between items with Tab / Shift+Tab, open menus with CapsLock+Enter, and navigate within menus with CapsLock+Left/Right Arrow. |
With your screen reader application open, you can navigate from object to object within the Physical workspace. This can be done by your screen reader's Move to next item command. For Microsoft Narrator on Windows with Scan Mode ON, this is the Arrow keys. For Apple VoiceOver on Mac, this is the Arrow keys as well.
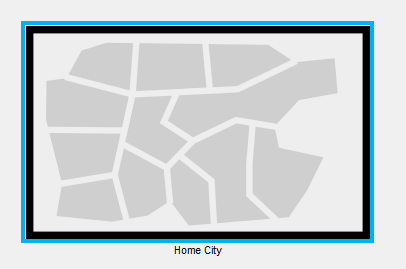
After selecting the object you wish to enter, you can press the primary action function of your screen reader to activate a sub-menu. For Microsoft Narrator with Scan Mode ON, this is Enter. For Apple VoiceOver on Mac, this is Return. This submenu can be used to enter cities, offices, or working closets. Use the Up/Down Arrow keys to traverse through the sub-menu.
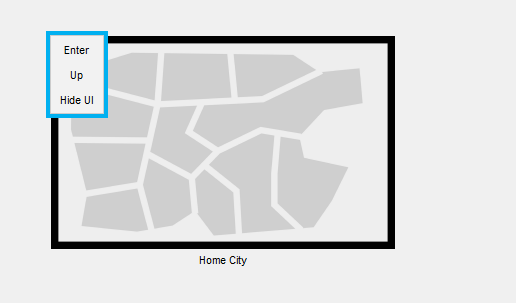
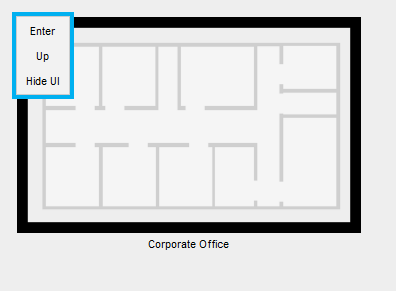
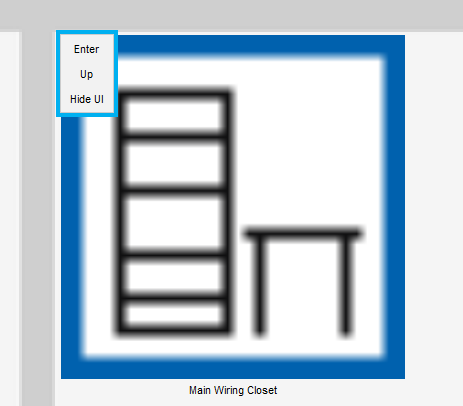
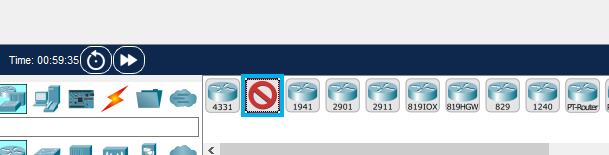
Within the Working Closet, using your screen reader's Move to next item command, you can navigate through the different component boxes, like creating a rack or selecting a device. These can be selected or created with the primary action function of your screen reader.

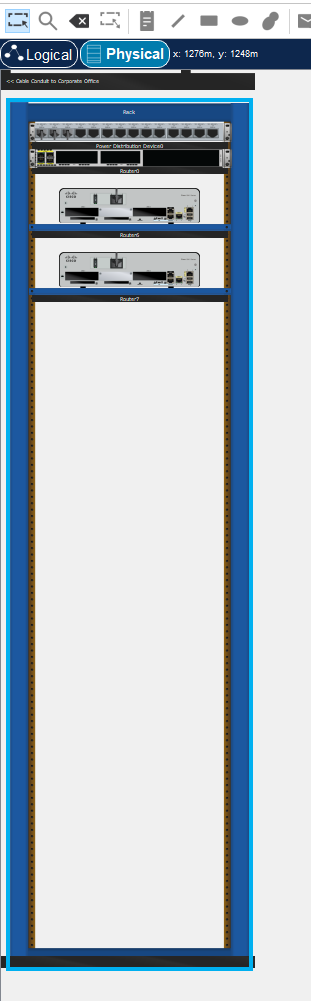
You can access items on the rack by traversing to the rack. With your screen reader's Move to next item command, you can scroll through the items through the rack.
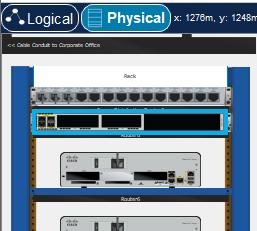
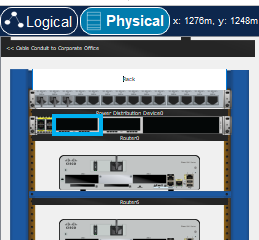
If you have an existing device selected (either by selecting an existing device or selecting a device in the Component Box) you can add a device to the rack by selecting an empty section of the rack, and pressing the primary action function of your screen reader.
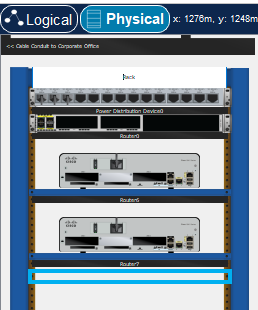
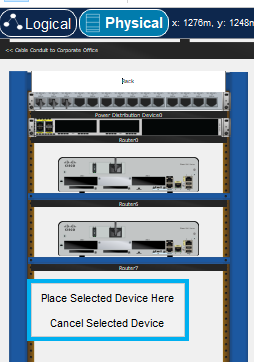
With your screen reader's Move to next item command, you can enter and select the options within the submenu to add your device. Press the primary action function of your screen reader to add your device.
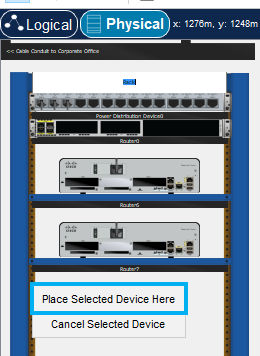
You can also go to an existing device to enter the Device's Configuration Dialog. Navigate to a device and press the primary action function of your screen reader. This brings up a similar submenu.
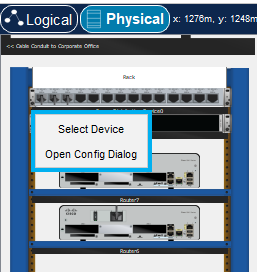
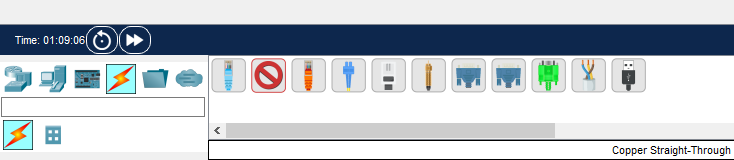
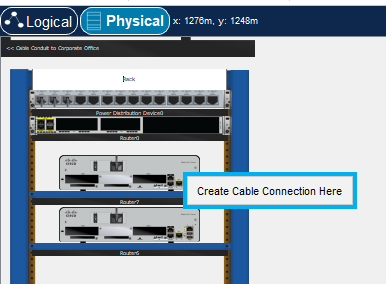
Similar to adding a device, you can also connect devices. By selecting a cable, navigating to the desired port of a decive, and press the primary action function of your screen reader. This brings up a connection submenu
You can learn more about Screen Reader Accessibility through Microsoft's Complete Guide to Narrator or Apple's VoiceOver User Guide. |
ICP Accessibility Navigation
The Industrial Control Panel (ICP) container supports accessible navigation similarly to the Working Closet. You can navigate into and through an ICP, place items, move items between the door and cabinet, and open device configuration dialogs, all without a mouse.
In the steps below, keys are shown as Scan Mode ON / Scan Mode OFF for Microsoft Narrator on Windows. See the note above for how to toggle Scan Mode.
Navigating to and entering an ICP
Use the Arrow keys (Scan Mode ON) or Tab / Shift+Tab (Scan Mode OFF) to navigate to the ICP on the Physical Workspace. Then press Enter / CapsLock+Enter to enter it.
Navigating inside the ICP
Inside the ICP, use the Arrow keys (Scan Mode ON) or Tab / Shift+Tab (Scan Mode OFF) to move between the interactive items on the door and in the cabinet.
Opening and closing the ICP door
Navigate to the door handle, then press Enter / CapsLock+Enter to toggle the door open or closed.
Accessing the cabinet menu (DIN rails and Wire Conduits)
Navigate to the top-left cabinet menu button, then press Enter / CapsLock+Enter to open the menu and access options for placing DIN rails and Wire Conduits.
Placing a new item into the ICP
First, select a device or component from the Component Box. Then navigate back to the ICP and to the target area on the door or in the cabinet. Press Enter / CapsLock+Enter to place the selected item.
Moving items between the door and cabinet
Opening a device's Configuration Dialog
Navigate to the device and press Enter / CapsLock+Enter to open its popup menu. Navigate to Open Config Dialog using Up/Down Arrow / CapsLock+Left/Right Arrow, then press Enter / CapsLock+Enter to open it.
Cabling and deleting devices inside the ICP
Cabling devices inside the ICP and deleting devices follow the same accessible procedures as described above for the Working Closet.
Note: ICP Workspace Mode (the closed-door view of the ICP shown directly on the workspace) is not currently accessible via screen reader navigation. |